What to Expect During Your Headshot Session
Nervous about your first headshot? Walk through the entire session process step-by-step so you know exactly what happens.
“I’m not photogenic.”
I hear this constantly. Like, multiple times a week. It’s the number one thing people tell me when they book a headshot session, and honestly, I get it. The idea of standing in front of a camera while someone studies your face can feel uncomfortable (or downright terrifying if we’re being real).
Here’s the thing though: you don’t need to be photogenic. You don’t need to know how to pose. You don’t need to practice your smile in the mirror or watch YouTube tutorials on “how to angle your face for photos.”
That’s my job.
A professional headshot session is designed to make you look great without you having to do the heavy lifting. Think of it this way: when you go to a great hairstylist, you don’t need to know the technical details of layering or how to hold the scissors. You just sit in the chair and trust them to do what they do best.
Photography works the same way. I’m going to walk you through exactly what happens during a headshot session so you know what to expect, and more importantly, so you can stop worrying about it.
What Happens Before a Headshot Session?
A good headshot session actually starts before you walk into the studio.
After you schedule your appointment, you’ll get an email (or we’ll have a quick conversation) about what you need the headshots for. Are they for LinkedIn? Are you an actor needing refreshed acting headshots? Company website? A conference speaker profile? Maybe you’re updating your entire online presence across multiple platforms.
This matters because different uses sometimes call for slightly different approaches. A CEO business headshot for a company annual report might lean a bit more formal than a headshot for a life coach’s website.
We can also talk about wardrobe. Most people bring 2-3 outfit options, which gives us flexibility during the session. If you’re not sure what to wear, I’ve got a whole guide on that (seriously, check out my article on what to wear to your headshot session because wardrobe can make a huge difference).
The pre-session communication isn’t interrogation. It’s just about making sure we’re on the same page so when you arrive, we can jump right in without any confusion about what you’re trying to accomplish.
What Happens When You Arrive at the Studio?
You walk in. We say hello. I offer you water, (hydration is good for skin, and also, you know, hospitality). We talk about your goals a little bit more for the photos.
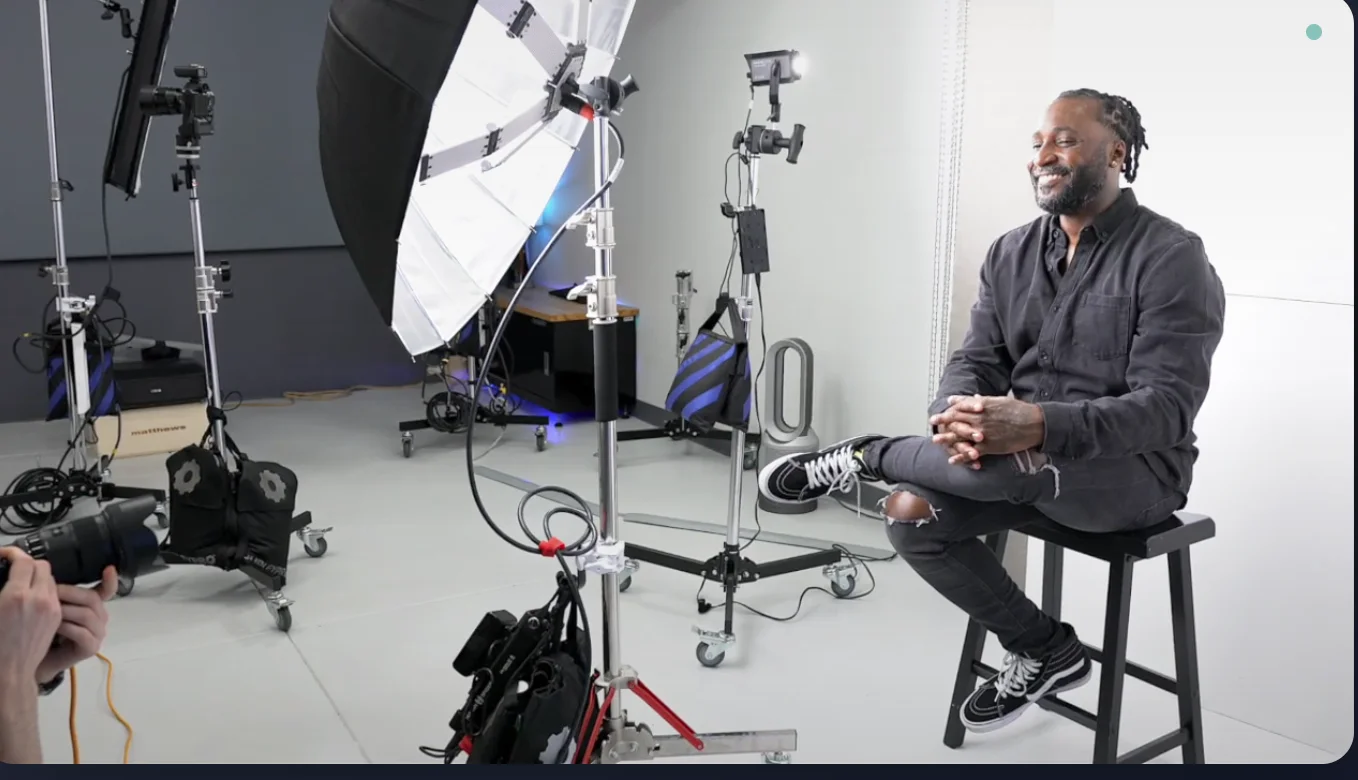
This part is intentionally relaxed because I want you to settle in and get comfortable. If you’re nervous, we talk about it. I’ll probably crack a joke or ask about your day. The goal here is to shift your brain from “oh god I have to take photos” to “okay, this is just a normal conversation with a normal person who happens to have cameras.”
You’ll hang up your outfits, and we’ll talk through which one you want to start with. Usually, I recommend starting with whichever outfit makes you feel the most confident. If you feel good in what you’re wearing, that shows up in the photos.
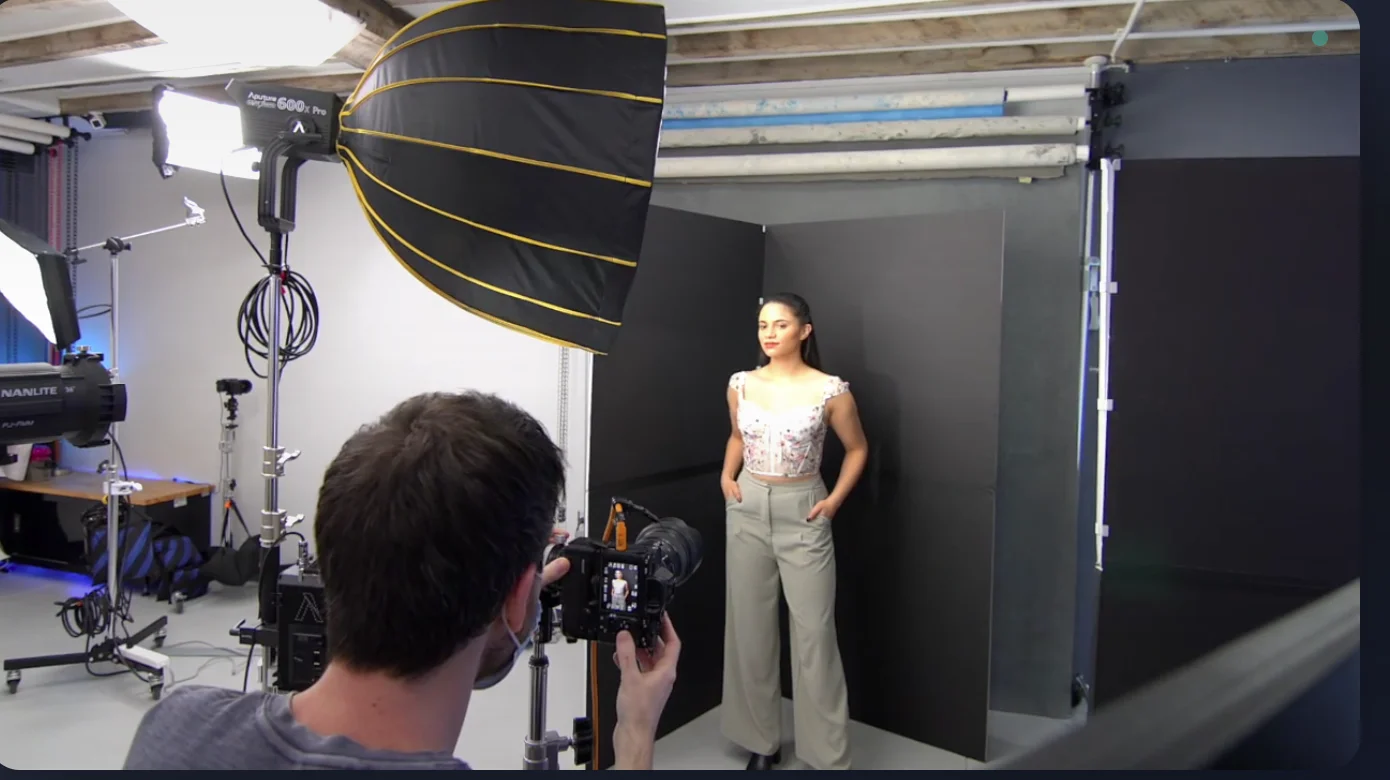
Then I’ll show you the setup: where you’ll be standing, what the lights look like, where the camera is. Some people find this demystifying. The studio isn’t some scary mysterious place—it’s just a room with equipment that’s specifically designed to make you look your best.
We’ll also talk about the “vibe” you’re going for. Do you want to look approachable and warm? Confident and authoritative? Friendly but professional? There’s no wrong answer, but knowing what you’re aiming for helps me guide you in the right direction.
What Do I Do During a Headshot Session?
Alright, this is the part people worry about the most. “What do I do with my hands?” “Where do I look?” “How should I stand?”
Here’s the secret: I’m going to tell you all of that.
Seriously. Every single detail.
I’ll position your shoulders. I’ll tell you whether to tilt your head slightly left or right. I’ll ask you to bring your chin forward a tiny bit (this is a super common adjustment that makes a huge difference). I’ll tell you where to put your hands, how to angle your body, whether to shift your weight.
You don’t need to memorize anything or figure it out yourself. You just need to listen and make small adjustments as I guide you.
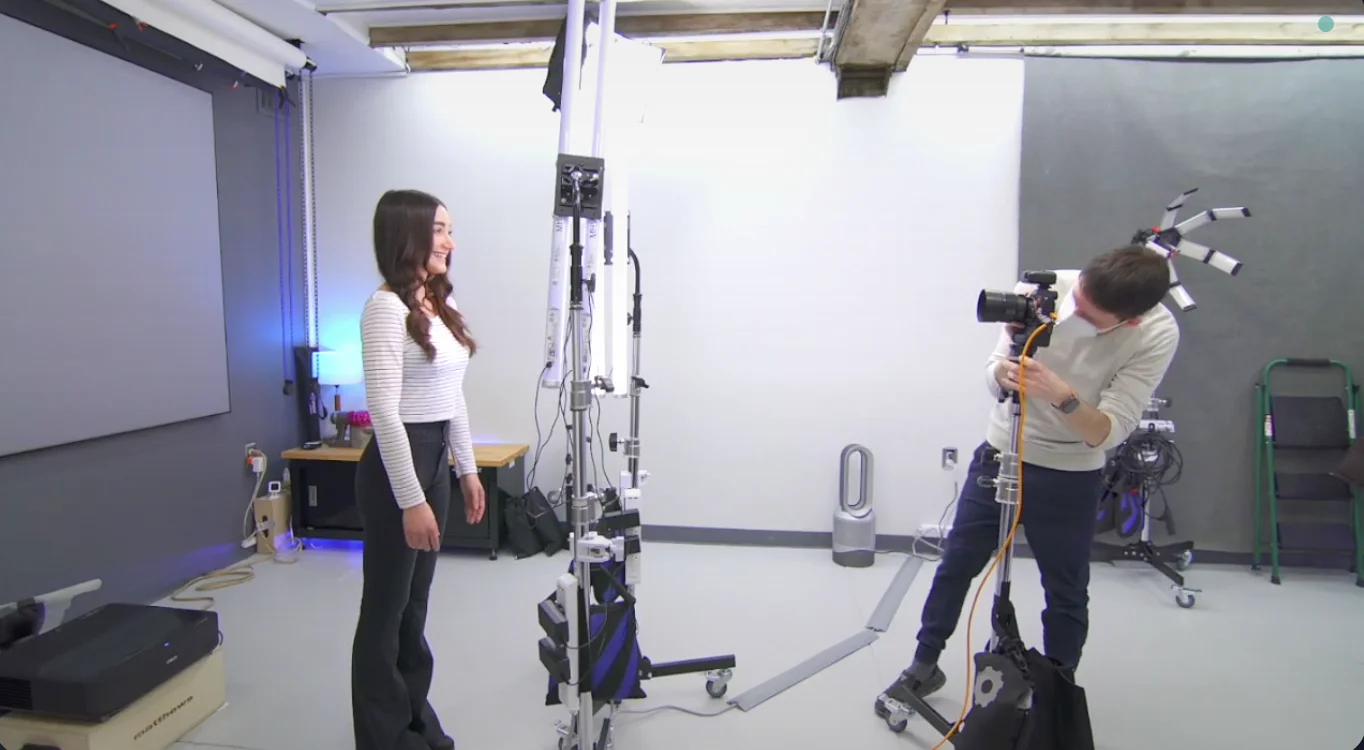
And here’s the best part: we shoot tethered, which means every photo I take shows up immediately on a screen where we can both see it. This is huge because it means you’re not wondering “how do I look?” the entire time. You can actually see what’s working. We will periodically sit down and go through the photos together to make sure we are liking what we are getting.
When we find something that looks great, I’ll say something like “okay, stay right there, that’s perfect,” and we’ll do a bunch of variations from that position. Different expressions. Slight changes in angle. The goal is to give you options, not just one single image.
Most people are surprised by how many photos we take. In a typical session, I might shoot 150-200+ images to get your final 5-10 selects. That’s normal. We’re not taking that many because you look bad in most of them—we’re taking that many because small variations in expression and angle can make a big difference, and I want to make sure we capture your best possible look.
If you bring multiple outfits, we’ll switch partway through and do the whole thing again. New outfit, slight adjustments to posing, more variety.
For a full session, the whole thing (typically) takes about an hour and a half depending on how many looks we’re going for. It goes faster than most people expect because we’re not fumbling around trying to figure things out. We have a process, and that process works.
How Do I Choose Which Headshots to Keep?
Once we’ve shot everything, we sit down together and review the images.
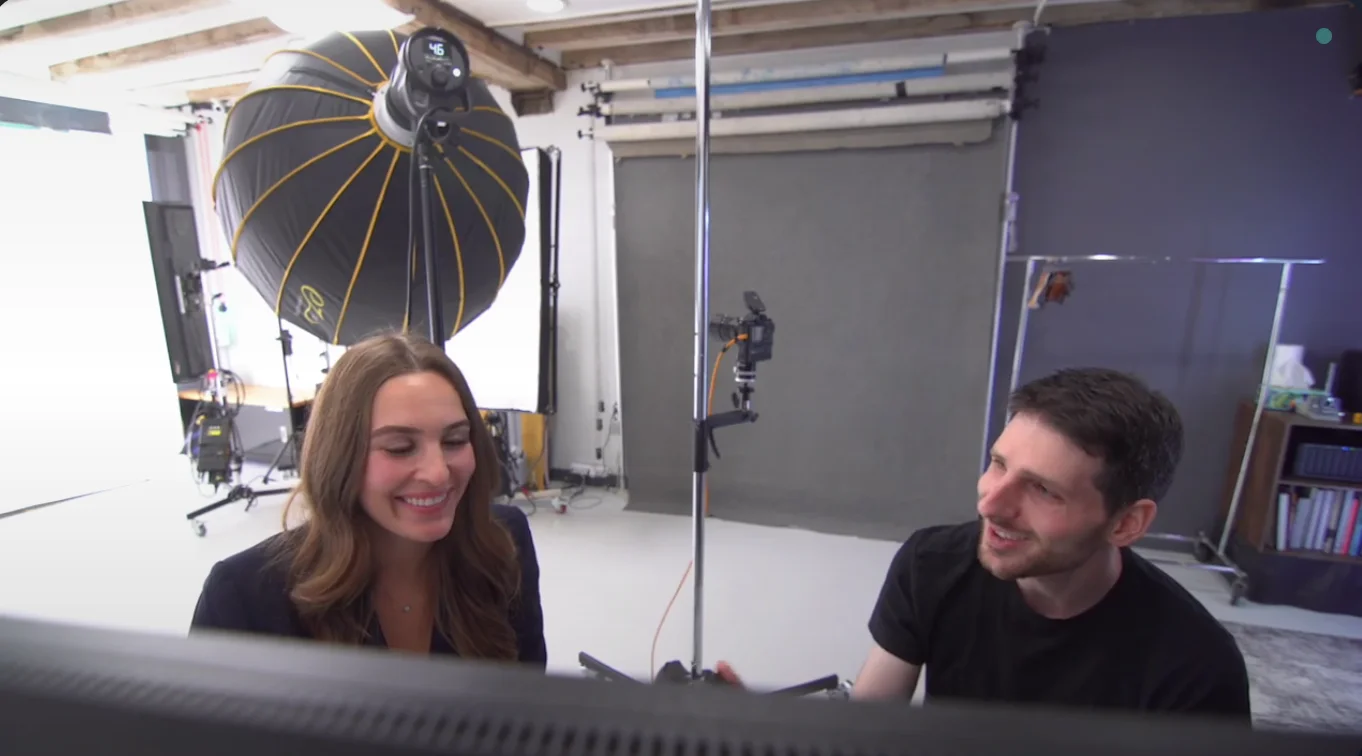
This is where you get to actually see the results and pick which ones you like best. Throughout the shoot we usually narrow it down first to make this easier in the end—instead of scrolling through 200 images, We will go through the best maybe 20-50 options.
We’ll look at them together, and I’ll point out what I think is working well in certain shots. Sometimes you’ll have a favorite immediately. Other times you’ll be torn between a few options (this is very common, and totally fine).
Here’s my advice for choosing: look for the images where you seem most like yourself. Not the most “perfect” or “polished” version, but the version that feels authentic. The version where someone who knows you would say “yeah, that’s you.”
If you brought a friend to your shoot, we can always get a second opinion. A lot of people need an outside perspective to choose their final few. Fresh eyes can be helpful.
How Long Does It Take to Get Your Headshots Back?
Once you’ve selected your favorites, I’ll retouch them.
What does retouching include? Standard stuff: smoothing out temporary blemishes (like that pimple that showed up the morning of your session), softening wrinkles (not eliminating them—you still look like you), removing stray hairs, evening out skin tone, and making sure the colors look natural and consistent.
The goal is not to make you look like someone else. The goal is to make you look like your best self on a good day. If someone meets you in person after seeing your headshot, they should recognize you immediately.
Turnaround time varies by photographer. I (typically) deliver final images within 10 days from selection, though this can be shorter or longer depending on how many images you select.
You’ll get high-resolution Jpeg files that you can use anywhere—LinkedIn, your website, email signature, business cards, conference materials, whatever you need. The files are yours to use however you want.
How Do I Look Natural in a Headshot?
Let me be really honest with you: most people feel awkward for the first 5-10 minutes of a session. That’s completely normal.
But here’s what happens: as we start shooting and you see the images coming up on the screen, you start to relax. You realize you don’t look as weird as you thought you would. You start to trust the process. Your shoulders drop. Your smile becomes more natural.
By the end of the session, most people are genuinely enjoying themselves. I’ve had clients tell me “that was actually fun” more times than I can count (and they sound surprised when they say it).
If you’re nervous, tell me. Seriously. It helps me adjust my approach, and also, you’ll realize you’re not the first person to feel that way. Not even close.
The Photographer Does the Heavy Lifting
Here’s what I want you to remember: a good photographer makes you look great without you having to be an expert at being photographed.
You don’t need to know what to do. You just need to show up, trust the process, and be willing to make small adjustments as I guide you.
The technical stuff—the lighting, the angles, the posing, the camera settings, all of it—that’s what you’re hiring me for. I’ve done this thousands of times. I know what works and what doesn’t. I know how to make you look confident, approachable, and professional even if you feel like a deer in headlights.
Your job is just to be yourself. My job is to capture that in the best possible way.
So if you’ve been putting off booking a headshot session because you’re worried about being “not photogenic” or not knowing what to do, stop worrying. You’ll be fine. Better than fine, actually.
And if you want to prepare, read up on what to wear and how to get ready for your session. But don’t stress about the actual photography part. I’ve got that covered.
Ready to Get Started?
Have questions? Let's discuss your needs and create perfect professional images.