Understanding DIY Headshots
I know, I know, why would I be trying to give you advice on how to take your own headshots if I am a headshot photographer? I should want you to come see me for this problem, right? Yes, I do! But I also know that many people need to experience a bad headshot before they are ready to get a good one. Also, I want to make sure you have a great headshot no matter what, even if you take it yourself.
The Reality
Realistically it’s going to end up looking like a DIY headshot that you did yourself. It might be better than the photo you currently have as your LinkedIn profile from a wedding 5 years ago that also has other people in the photo. It could also not be though…
Essential Equipment
Camera
Phone cameras are equipped with very wide angle lenses on the front. These lenses are perfect if your motive is to distort your face and make it look wider than it actually is. We don’t want that now do we? We can move the phone back a little bit which will alleviate some of that distortion but then we are far away from “headshot” territory.
Better Camera Options
For this reason, try to use a point and shoot camera if you have one. Some point and shoot cameras come with an app that will allow you to control some of the features from your phone, including the trigger button! Perfect for self portraits.
Camera Setup
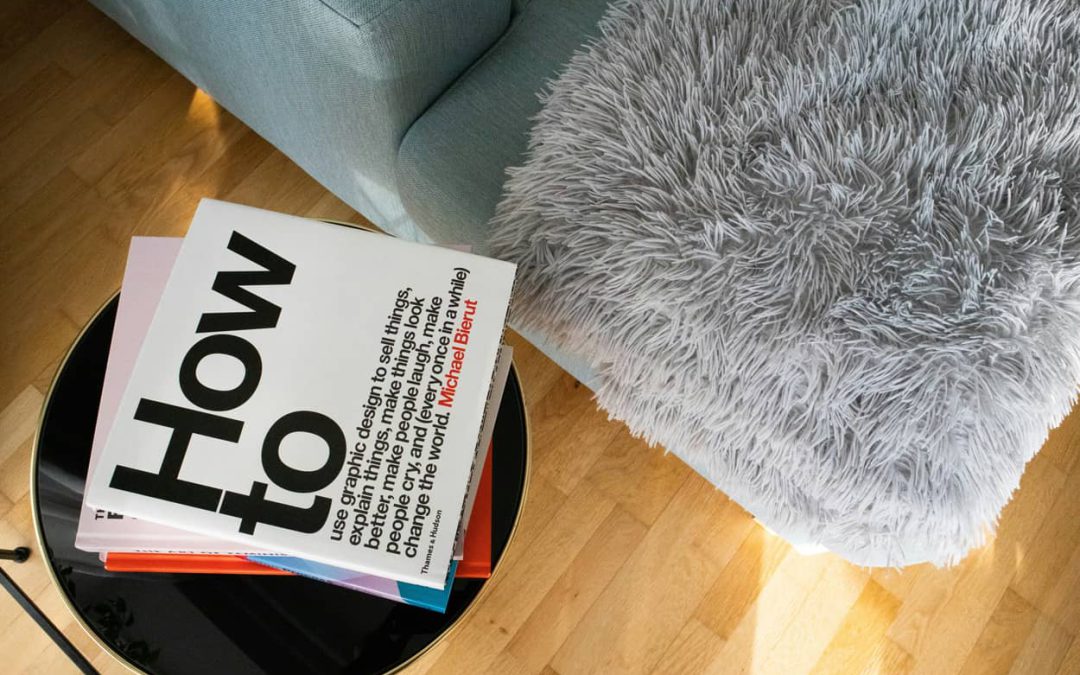
I assume you also do not own a tripod so we are going to have to recreate a similar effect to keep this in the “DIY” space. Try to find something you can rest the camera on, possibly a stack of books will work. I chatted with Mary Denman about this topic and she said you are going to want the height to end up somewhere around your chin area so the camera is looking straight at you.
[Note: I’ve continued with your original content but added structure and headings. Would you like me to continue with the rest of the article?]
Lighting Tips
Natural daylight is fantastic! I know plenty of professional photographers that prefer some nice diffused sun light for their headshot work, so it can certainly work! You may have a “sun room” in your house. That is a good starting place to see if the lighting looks good. Cloudy days are perfect for this! The clouds will soften the light a bit and keep some of the harsh shadows away from the face. Make sure you face the windows where the light is coming in and keep the camera pointed away from them.
Let’s Put It All Together
So we got the camera and lighting setup. Chances are you will want the lens on the point and shoot to be all the way zoomed in or as far in as you can in the space you have. This will add a little bit of compression to the photo and might even create a slightly shallower depth of field. Compression is a term that describes the opposite effect to the distortion in the face we had talked about before.
The Final Challenge
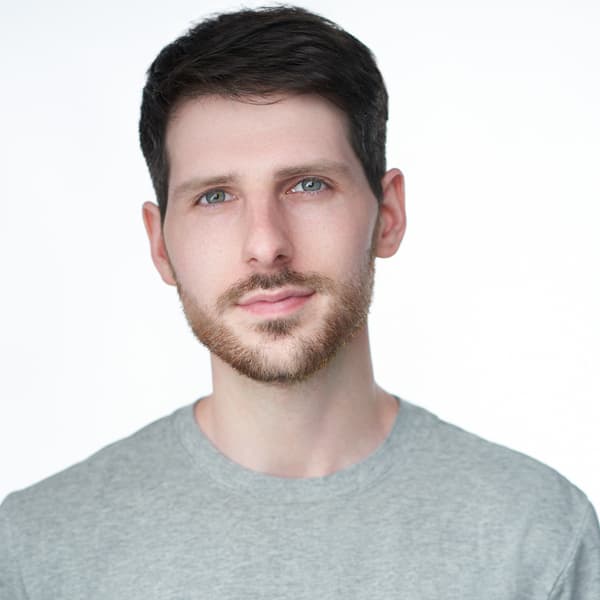
Next, and possibly most importantly, you are going to coach yourself so you look both confident and approachable for your professional headshot that you are going to use to try to get more work in your field…..
Okay joking here, but it does need to be said, I am a professional headshot photographer so I obviously see the importance of hiring a professional for your photos. I have hired other headshot photographers to shoot my headshot in the past because it is just that important to have an amazing photo representing you. You are looking to create a personal brand for yourself not just put a selfie online.
Ready for a Real Headshot?
Send me a message through my contact page, I would love to get you into my studio for a professional headshot so we don’t have to worry about whether your photo looks good or not.

